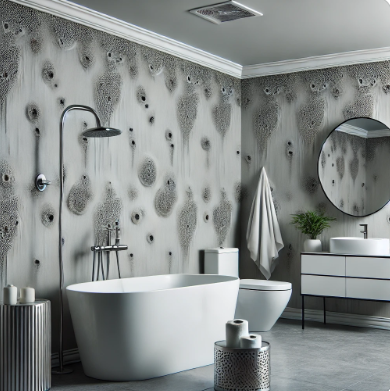
This step-by-step guide helps you install textured mold proof wallpaper. It covers wall preparation, adhesive application, and smooth hanging techniques. The guide ensures you achieve a professional look and maintain the integrity of your textured mold proof wallpaper.
Installation Guide for Textured Mold Proof Wallpaper
Installing textured mold proof wallpaper can be a straightforward process if you follow these steps:
1. Gather Your Tools
You'll need wallpaper adhesive, a smoothing tool, a sharp knife or scissors, a measuring tape, and a damp cloth.
2. Prepare the Walls
Clean the walls thoroughly and let them dry completely. Remove any old wallpaper and repair any imperfections to ensure a smooth surface.
3. Measure and Cut
Measure the height of the wall and cut the wallpaper to size, leaving a little extra at the top and bottom for adjustments.
4. Apply the Adhesive
Follow the manufacturer's instructions for mixing and applying the adhesive. Apply it evenly to the back of the wallpaper or directly onto the wall, depending on the type of wallpaper you are using.
5. Hang the Wallpaper
Start from the top and align the wallpaper with the edge of the wall. Smooth it down gradually, using the smoothing tool to remove any bubbles or wrinkles.
6. Trim the Excess
Use a sharp knife or scissors to trim the excess wallpaper at the top and bottom. Wipe away any excess adhesive with a damp cloth.
By carefully following these steps, you can achieve a professional-looking installation of textured mold proof wallpaper, enhancing the beauty and functionality of your home.
READ MORE:


