A feature wall can be a striking focal point in any room, drawing attention and adding personality to your space. Self-adhesive wallpaper is an excellent choice for creating a feature wall because it is easy to apply, remove, and reposition. Here’s a step-by-step guide to help you create a stunning feature wall with self-adhesive wallpaper.
1. Select the Right Wall
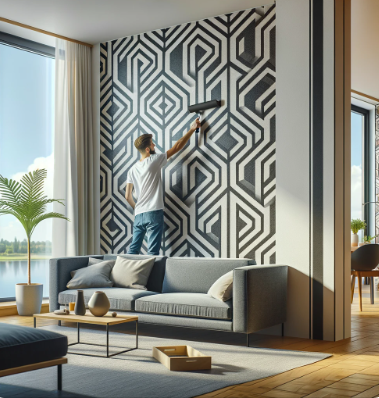
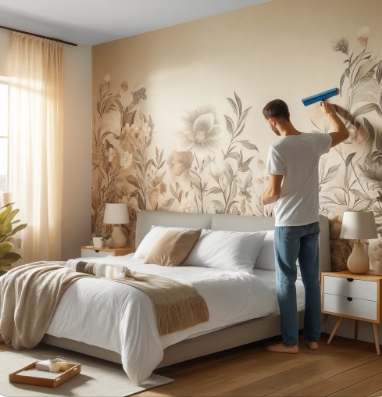
Choosing the right wall is the first step. The best wall for a feature wall is usually the one that naturally draws the eye when you enter the room. Common choices include the wall behind the headboard in a bedroom, the wall behind the sofa in a living room, or the wall facing the entrance of a room.
2. Pick a Design
The design of your wallpaper will set the tone for the entire room. Bold patterns and vibrant colors can create a dramatic effect, while subtle designs and soft hues can add a touch of elegance. Consider the existing decor and color scheme of your room when selecting a design. If you’re unsure, order samples to see how different patterns and colors will look in your space.
3. Prepare the Wall
Preparation is crucial for a smooth application. Clean the wall to remove any dust, dirt, or grease. Make sure the surface is dry and free of any imperfections. Fill in any holes or cracks and sand down rough areas to create a smooth surface.
4. Measure and Plan
Measure the height and width of the wall to determine how much wallpaper you’ll need. Cut the wallpaper into strips, adding a few extra inches to the height for trimming. Plan how you will apply the strips, especially if the wallpaper has a pattern that needs to match across strips.
5. Apply the Wallpaper
Start from the top of the wall and peel off a few inches of the backing. Align the top of the wallpaper with the ceiling or the top of the wall, ensuring it’s straight. Gradually peel off the backing as you smooth the wallpaper down the wall with a smoothing tool or squeegee to remove any air bubbles. Work slowly and carefully to avoid wrinkles and ensure a smooth application.
6. Trim the Excess
Once the wallpaper is applied, use a sharp utility knife to trim the excess at the top, bottom, and edges. Be sure to cut carefully along the edges for a clean, professional finish.
7. Style the Wall
After your feature wall is complete, enhance it with complementary decor. Add artwork, shelves, or lighting that matches the style of the wallpaper. These elements will help tie the room together and highlight your new feature wall.
Conclusion
Creating a feature wall with self-adhesive wallpaper is an easy and effective way to add a focal point to any room. By selecting the right wall, choosing a suitable design, and following proper application techniques, you can transform your space with minimal effort. Whether you prefer bold and dramatic or subtle and elegant, self-adhesive wallpaper offers endless possibilities for customization and creativity.


